Insight Briefs are a great way to aggregate content into one place, and then share it easily with those who would benefit. They allow you to create ‘Digital Stories’ which can be shared via URL. You can make Insight Briefs searchable on the Insights page as well.
Please note that only Full Access Users have the ability to create/edit Insight Briefs.
How to create an Insight Brief
To create an Insight Brief, click on the navigation bar > Insight Briefs.
You can use the search bar to find a specific Insight Brief, filter by a Collection, or – click ‘Add New’ to create a new Insight Brief. Give the insight brief a name/title, then click ‘Submit’.
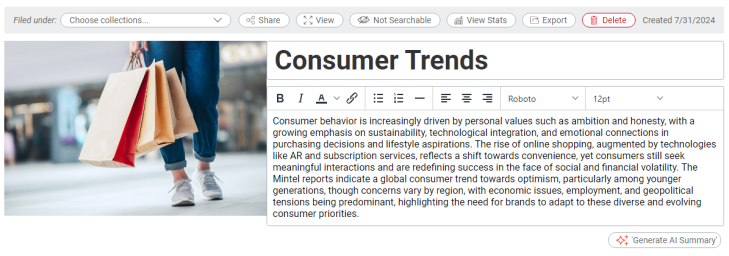
There are several functionalities at the top of the Insight Brief you will notice – including the option to ‘Delete’ the Insight Brief if needed, and also export the Insight Brief into a Word document. You can also make an Insight Brief ‘Searchable’ with the eye icon, which means that if a user searches for content on the main Insight page, this insight brief will appear as a relevant search result when applicable.
You can select the cover image either by uploading your own image or selecting one from the web.
Write your own custom overview for the insight brief (a general summary, key takeaways, specific organizational context, etc.) OR simply click ‘Generate AI Summary’ once you have added your content, and the overview will be created with a simple click. Here is a short video overview on that functionality.
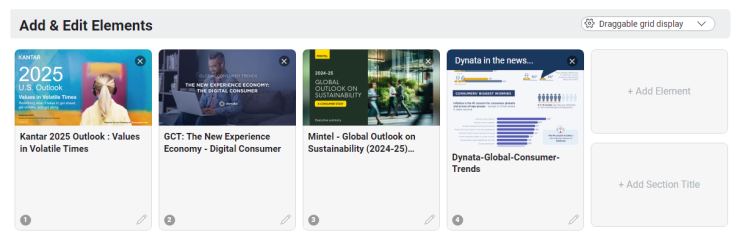
To add content, click on “+ Add Element” under the Add & Edit Elements section. You can use the search bar to look for specific content. There is also an option to click on the fine tuner to filter by categories, classifications, etc. Simply click ‘+ Add post’ for any post you wish to add, or use the arrow to expand the document and add only an ‘Element’ of the post if needed (i.e. only pages 10-12 from a 50 page document). For more information on Elements, see this brief training video. Once the posts have been added, drag and drop to rearrange.
To insert sections within the insight brief, click on "Add a section title," which allows for customization of colors and fonts.
How to share an Insight Brief
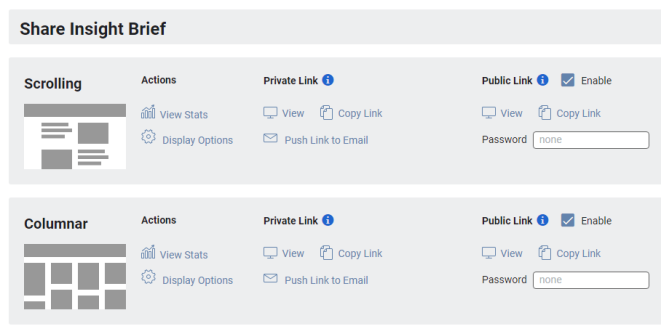
If you are already creating or editing an existing Insight Brief, simply scroll down to the ‘Share Insight Brief section’ or click ‘Share’ from the top of the page.
There are a number of different ‘View’ options including the most popular – Scrolling and List views. You can preview what each of these look like by selecting ‘View’. Once you decide on the view that works for the audience you will be sharing this content with – you can simply click ‘Copy Link’ and share it. You can select from the Private Link or Public Link (if this option is enabled on your account). Remember that a public link & the content with the insight brief shared can be viewed by anyone (you do have the option to password protect a public link, if needed). You also have the ability to push the link to the insight brief out via Sharpr email newsletter.
How to edit an existing Insight Brief
To edit an Insight Brief, click on the navigation bar > Insight Briefs.
Click on the pencil icon with the corresponding insight brief to edit it:

When you edit the content within an insight brief – you also have the option to ‘Generate the AI Summary’ once again based on the updated posts.
Insight Brief Reporting
To access the analytics for each specific insight brief – you can click on ‘View Stats’ at the top menu of that insight brief specifically.

Within this section, you can see how many people have viewed this insight brief, along with which posts they clicked on. You can also export these analytics into Excel.